Engine dress up is not going to make the car any faster, but hey at least it will look nice. I like the theme of red and white, going after the basic colors of the make. All engine trim, such as the valve cover and timing cover, will be red, and the mounting hardware for such will be white.
I was bored one night at the shop with some paint, a valve cover and timing cover, and a digital camera, so I decided to make a little tutorial on my method of making these parts shine.
First, I highly recomend stipping the parts down to bare metal. They were first soaked in an acid dip style parts cleaner overnight, but if you don't have access to something like that it really isn't a very important step, just makes paint stripping easier. Then using a wire wheel on a air powered die grinder I took all of the paint off and polished the parts until they shined.
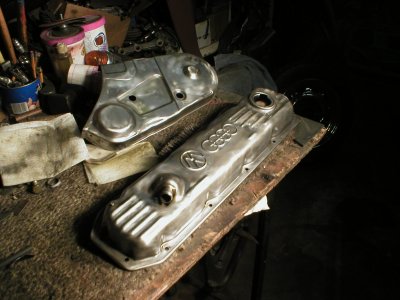
All clean and shiny
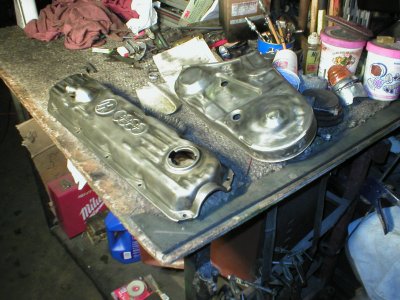
Now they looked so good I was tempted to just clear coat them and leave them like that, but that wouldn't work too well. So for the next step I use a cleaning solution such as paint thinner, pre-clean-o, or 3M adhesive remover. This removes all oils left by your hands, as well as any other possibly shop grease. When you wipe them down with a soaked paper towel you must very quickly (before it dries) wipe them with a dry paper towel. The wet towel gets the dirt loose, then the dry towel takes the dirt off of the part. After letting them dry for about 5 minutes I start priming. For base coats on bare metal I use primer with Zinc. At my shop we swear by this stuf, if the metal is prepped properly this Zinc primer will be extremely efective in rust prevention.
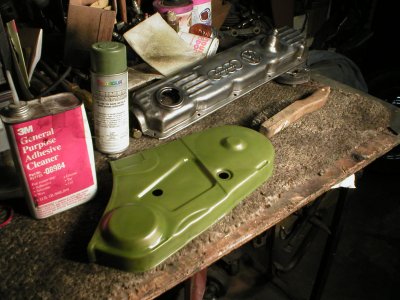
Timing cover in green Zinc primer
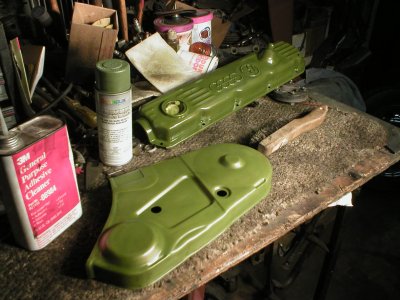
Both in Zinc
Now get out the heat lamps and bake these parts dry. This Zinc primer dries very very quickly, usually will stay tacky for no longer then 5 minutes, and will be completely dry in 15. Just for good measure I let the stuff dry for another hour. Then back to step 2. Get 2 new paper towels and clean the part again. This time your going to want to be slihgtly carefull because the cleaner WILL remove the paint if you let it soak in for more then a few seconds. Again let it dry for a few minutes, then spray on your color. I like to spray on one very light coat (when I say very light, I mean like make it look like accidental overspray; just a fine mist of paint) first that doesn't even cover the primer. Then wait 30 seconds or so and them spray a regular coat. This lets the very fine spray of your first coat get stuck in and because its such a fine coat it dries nearly instantly, then when you spray it the second time the color has something better to stick to. Back under the heat lamps to dry. I suggest 24 hours of drying time, even though they really only require 6 hours.
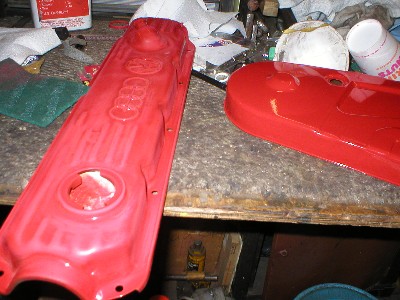
Valve cover 1st coat done
Valve cover scuffed for 2nd coat, notice the lack of shine
Now we do the same process for the next two coats, except add one more step. When you do more coats of color on top of each other you must scuff the previous coat with either very light (400grit) sand paper or I prefer to use a scotch brite pad. What you are looking to do is just take the shine away, not all of the paint. Once the parts has turned dull you can go ahead and clean, then apply the next coat of color. I recommend 3 full coats of color to make sure the color is bright and to help the part to not get scratched as easily.
Next the white details. On the mounting nuts for the valve cover and timing cover I like to grab each with vice grips, then polish them with a bench grinder mouted wire wheel. Then simply just spray white, 2 coats is all you need. Now wasn't that easy?
[finished red parts and white parts together]