Ok here goes. The list of pictures will still be at the bottom of the writeup as I go. When I'm done with the writeup I'll get the pictures sorted and such.
Basically the EFI is a simple thing once you have all of the bits and pieces. First things first I tore out the CIS. I've gotten good at that! I actually got the entite CIS system off in 1 piece with the exception of the boot on top of the airflow meter. I don't remove the wireing, just the hardware. I use the stock intake pipe (fuel meter boot to turbo) and just pop a K&N on the end of it, so it stays. Stock fuel filter stays too. Now heres a parts list of what I used:
- Fuel rail
- Porsche 944 fuel pressure regulators
- Porsche 944 input pressure regulator line
- Bosch low impedance 42lb/hr injectors
- 5 injector pigtails
- MegaSquirt EFI computer
- GM Intake air temp sensor
- GM coolant temp sensor
- Pigtails for the above 2
- Porsche 944 Input fuel line
- About 5ft of vinyl 3mm vacuum line
- A few rubber 3mm ID vacuum line elbows
- 3ft of 3/8ths inch fuel line (stainless braided)
Building the fuel rail:
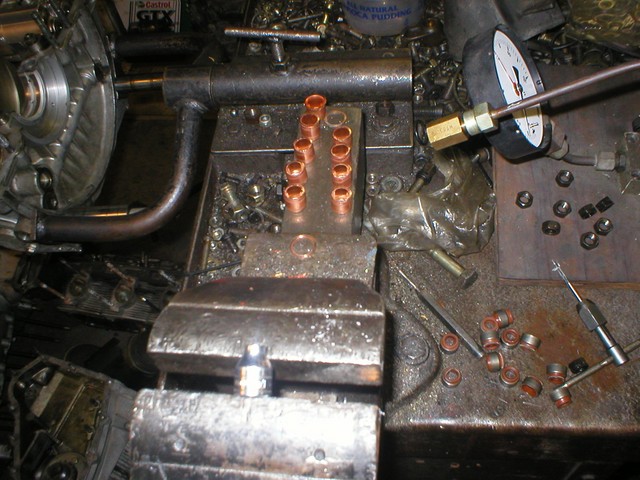
Last time I cut bungs from a 944 rail, this time I decided to make my own. I went to Home Depot and snagged a 10ftx 5/8ths copper coil, and the usual 1 inch x 3ft square tubing. I get steel, but last week I saw they had alum. so thats what I'll use next time. First I measured the length needed to fit over all 5 injectors, plus a few inches on either end to make sure theres room for the fittings and such. On the back end the only thing that regulates the length is the afterrun temp sensor mounted to the wastegate heat shield. On the front theres nothing in the way, just make sure theres room for the regulator and test fitting. After the rail stock is cut to length I install the injectors and measure where each is in relation to each other, and mark the rail stock accordingly. After its marked I use a small 1/8" or 3mm drill and drill a center hole for each. Then I progressively increase bit size until the final hole is punched with a 5/8" bit. Debur with a file. Now the bungs. Now get an injector and measue the distance from the seal to the first ridge that would stop the injector from sliding farther into the bung, including the seal in the measurement. Then cut 5 pieces of copper about 1mm longer then that measurement. Now I used a 6mm socket in a vice to make a nice flared end. A flaring too works too, but doesn't give as nice of a curve. Now drop each bung in its hole and fire up the brazing torch. Be careful brazing these copper bungs because the copper melts very easily. I actually melted part of one, but it's easy to replace it by melting it completely away then dropping in a new one. After its all brazed and inspected (look for good flowed edges, no no sharp edges no pinholes) it's time to get the fittings for the regulators and the test port. I personally like to just cut them off a old Porsche 944 rail, which is nice and easy, but of course you have to come up with an old 944 rail (I have a half dozen of them laying arround on engines). On this rail I decided to use the 944 regulator mount for the output regulator. I had to extend the rail upwards for the output regulator because it doesn't quite fit anywhere near the end of the rail. More brazing to get all of these bits fitted to the rail. Viola, now you have a fuel rail. It is of course going to be a very good idea to install it and check for leaks. After that I cleaned it up and primered then painted satin black. Then the paint got taken right back off by a friend who didn't know that the return line wasn't on and turned on my fuel pump, soaking my nice fresh paint in fuel. I'll take it off and repaint it eventually, but its not a priority.
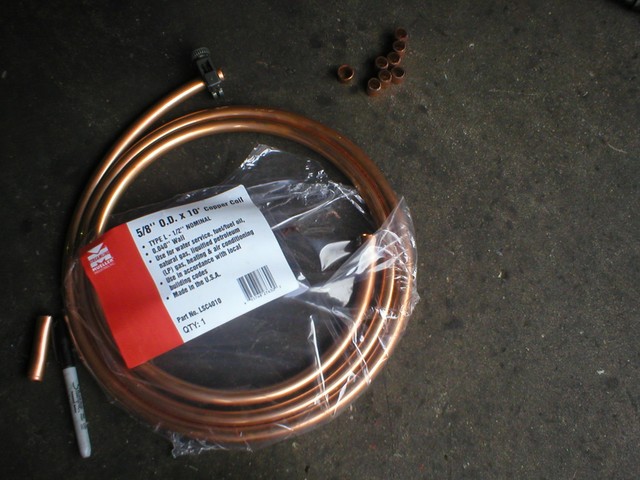
This is what I started with. I'd say I can make enough bungs for about 40 rails from that roll of copper!

Sorry these came out a bit blurry. Basically take a bung, insert socket, tighten vise, viola a nice flared bung.
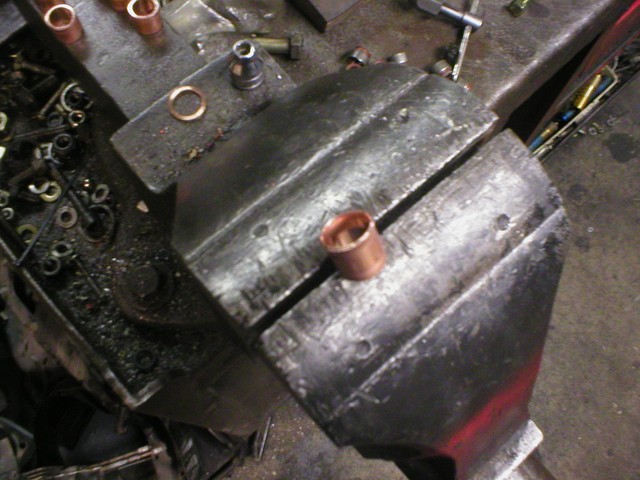
This was supposed to be an "after" shot, but you really can't see the flare.

Close up.
Rail before brazing of the bungs.
Now the EFI install. Obviously I started by assembling the MegaSquirt. Took about 5 hours to build the thing, but I was working carefully. The CIS was already long gone at this point, so that wasn't an issue.
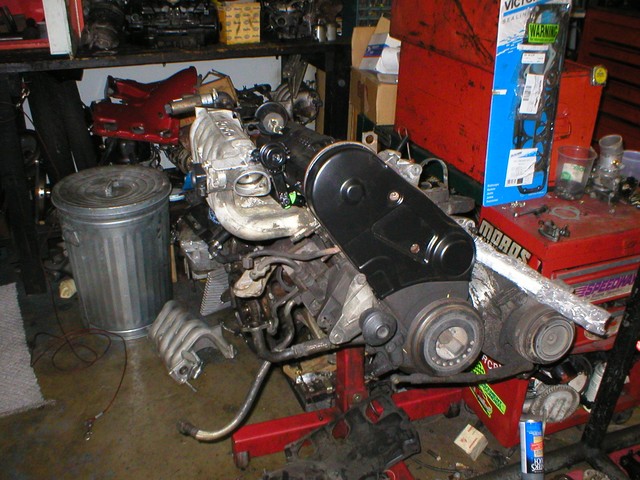
My test engine. Used for anything I need to mock up. This will be the monster engine eventually, with Pauter rods, stroked to 2.5l, etc.
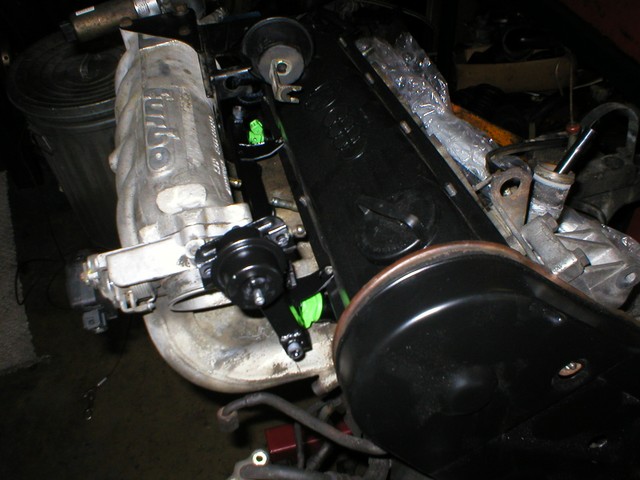
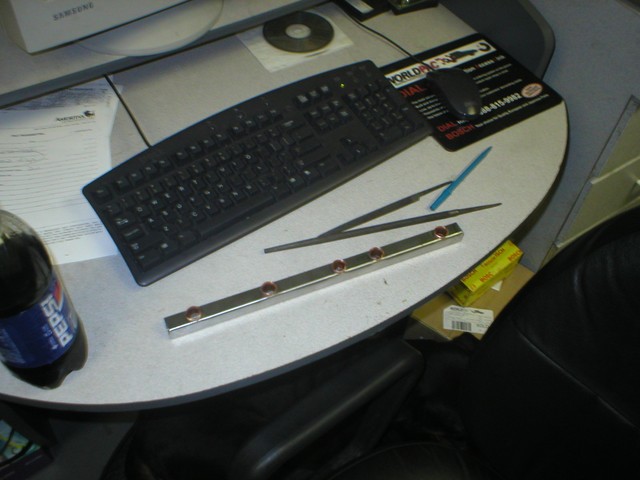
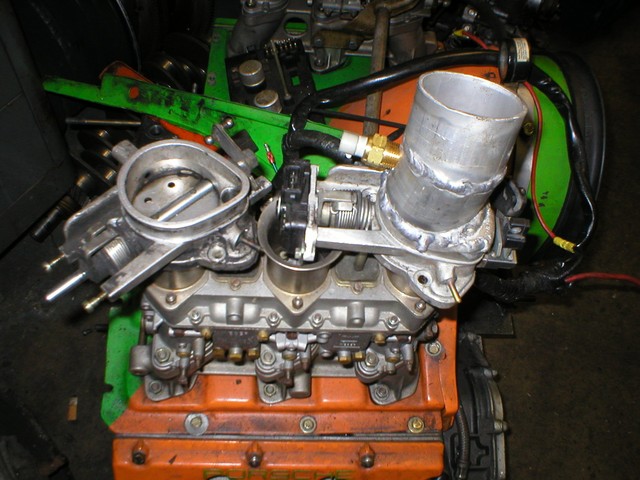
This is my new rail. Only 2 injectors are in for this pic so you will see some extra open area. The fitting on the front is a test port that normally gets an acorn nut. The round thing on top of the rail there is the outlet pressure regulator. This is what caused the fuel leak on my last car, mostly because I modified it for remote mounting, so this time I decided not to remote mount it and found some room right there. It currently just barely touches the hood liner because I forgot about the hood when I made the rail (oops), but its ok.
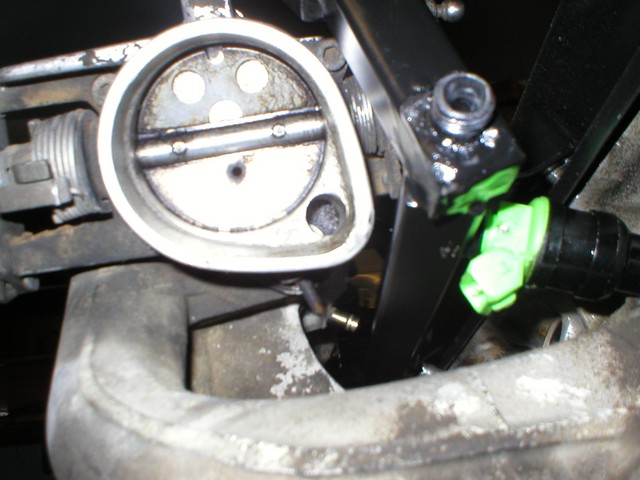
In order for the throttle to fully close I had to bend the piece at the bottom of the throttle cable pivot that holds the cable in. Had to do the same thing on my old rail, no effect other then the throttle not staying 10% open.
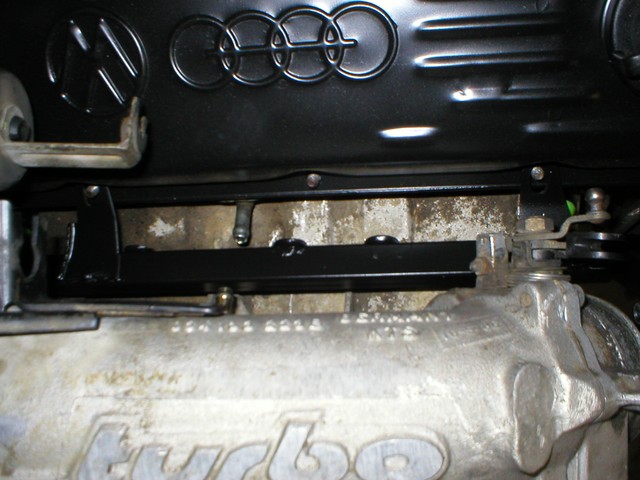
The 2 hose nipples here get connetced by a small section of rubber hose. In order to make it possible I bend the head side nipple up a little bit so the hose goes over the rail. I have been told that I can just block these off, but I figure that Audi put it there for a reason and its trivial to make it work.

Here again you can see the minor issue with that vacuum connection between the head and manifold. The fitting here on the end is for the input pressure regulator. It has to be put on top to get the regulator to clear the wastegate heat shield.

This picture is slightly misleading. It looks as if the rail gets close to the TB on the regulator feed, but in fact the rail is about 25mm forward (towards the camera) so it's not an issue at all.
Here is where the usual clearance issue is. My last rail was a much tighter fit here. So tight that I had to install the Michelin Man hose before bolting the manifold on because it wouldnt fit otherwise. On the new rail it can be installed and removed at will without loosening the intake manifold.
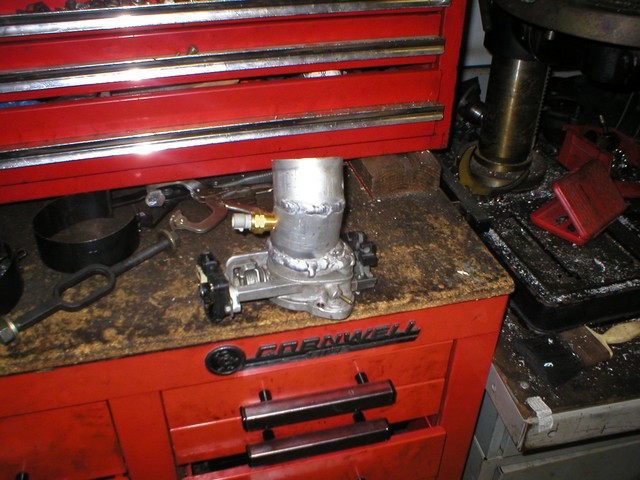
This is my new throttle body. Welded by an ex-employee the day before he bacame an ex, and part of the reason you can see here. He claimed to be a master welder, but judging by this (and other things badly done) I would tend to disagree. I plan on doing another one myself since I've gotten fairly good at TIGing since his dismissal.
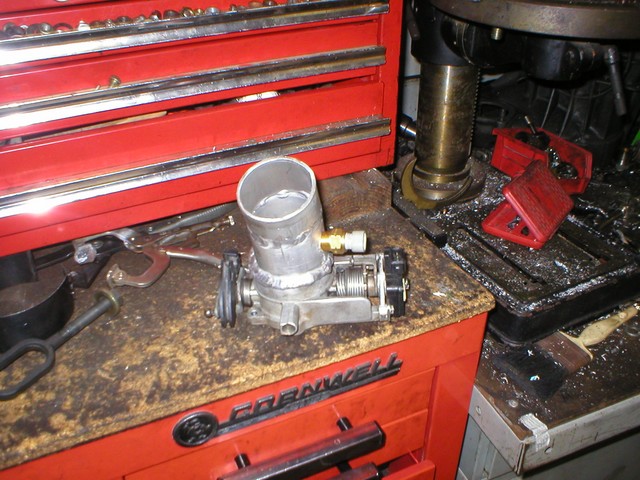
Other side.
New vs. stock sitting on the fastest work bench arround, hehe.

Another stock vs mod shot.